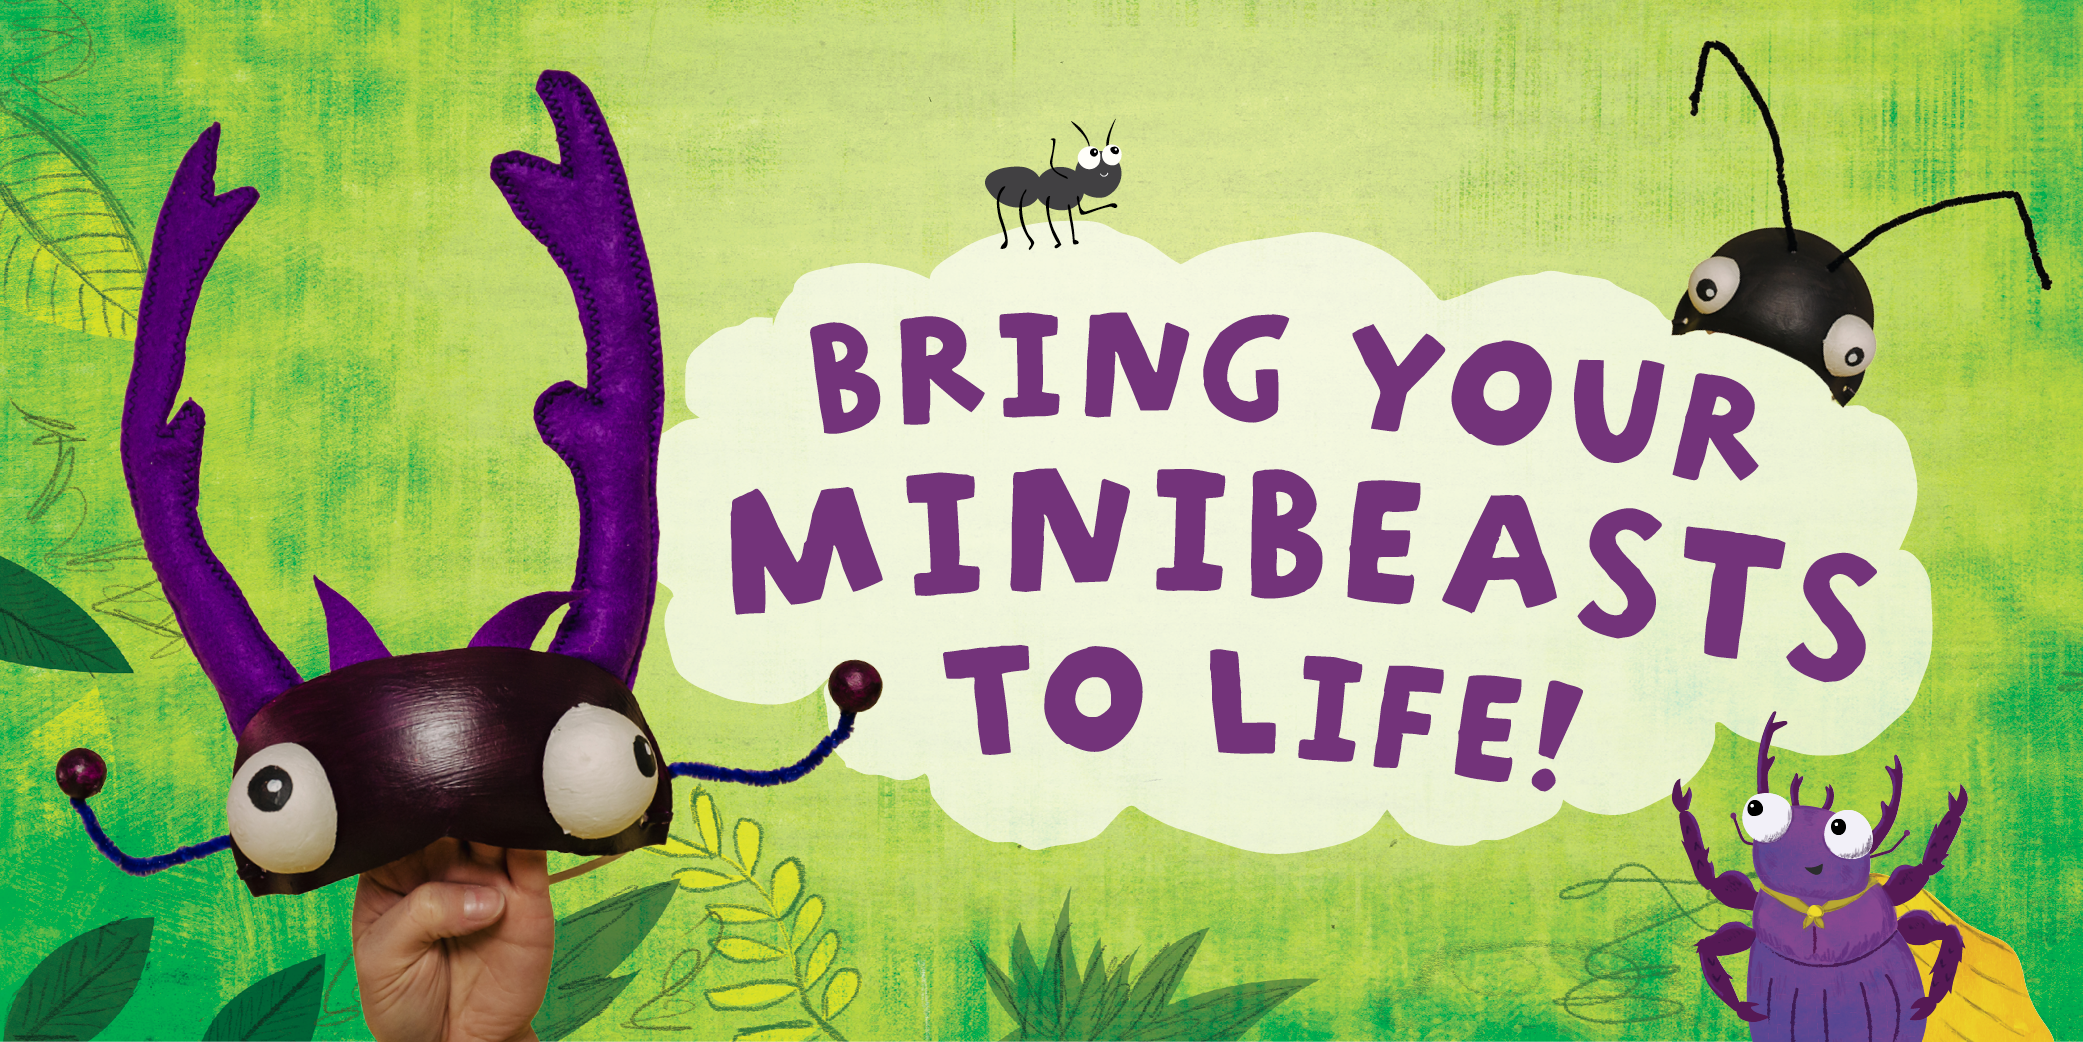
We are all about finding simple ways to bring your musicals to life with maximum smile factor, but minimal stress and budget. Enter our simple, smiley, MIGHTY effective minibeast masks! These are a fabulous way to get proppin’ for our newest musical for 3-7 year olds, Mega, Mighty Minibeasts, or even a fab reason to expand your minibeast classroom learning into your art lessons by getting the children to stick the pre-prepared eyes on and add some paint to the masks! Right, teachers – pipe cleaners at the ready, let’s get started.
You will need:
- Kids’ Full Paper Face Masks (we got ours from Hobbycraft)
- Compressed paper balls (also from Hobbycraft)
- Acrylic paint
- Scissors
- Strong craft glue
- Strong tape
- Coloured pipe cleaners
- Knife and chopping board
For your stag beetle’s mandibles you will also need:
- Two A4 sheets of purple felt
- 60cm of florist wire (2mm thick)
- Stuffing, wadding or cotton wool
- Mandible template
Step 1: Making the base
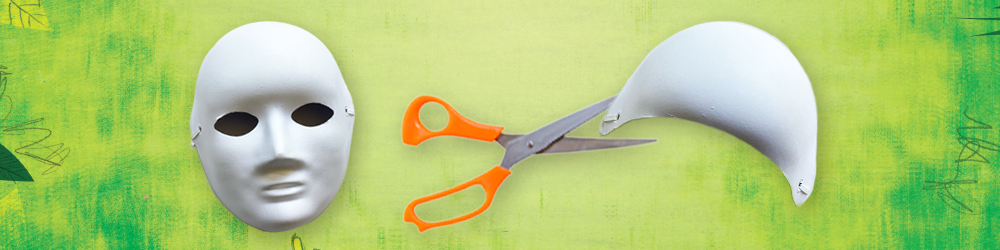
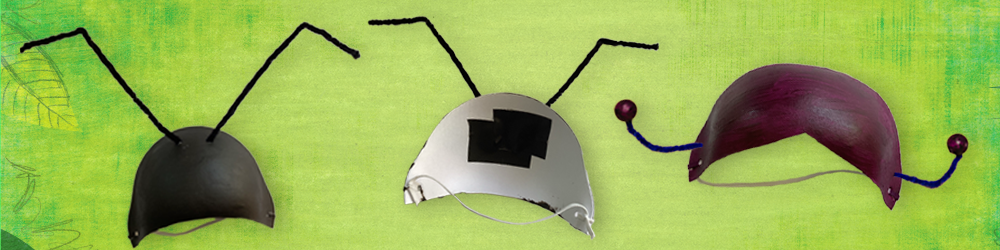
Cut off the lower section of the paper face mask, just above the eyes, leaving just the forehead of the mask and the elastic. The lower part of the mask is not needed, so can be recycled. If you don’t have a face mask, you could use the top of a paper plate and attach some elastic to the sides instead. You can vary the shape of your mask depending on which minibeast you are making (see image in Step 2).
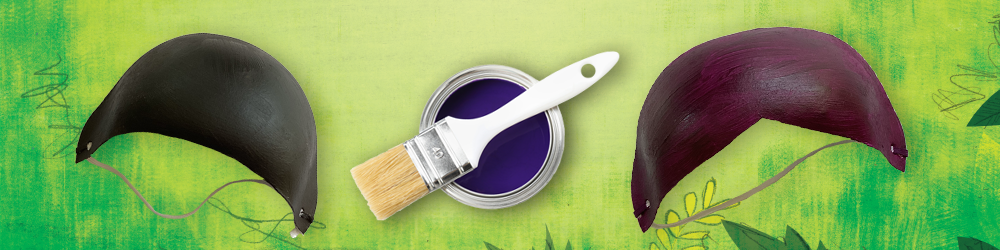
Step 2: Painting
Paint the mask in your chosen colour. We’ve chosen black for the ant mask and purple for the stag beetle mask. Allow the paint to dry.
Step 3: Making the antennae
The minibeast antennae are made using pipe cleaners. We used two pipe cleaners for each antenna, twisted around each other for extra strength. To attach, make two small holes towards the top of the mask and feed the pipe cleaners through the holes by about an inch, securing underneath with some strong tape. Bend the pipe cleaner antennae into your desired positions.
If making the stag beetle mask, the antennae can be positioned to the sides of the mask allowing room for the mandibles to be added at the top of the mask later. We also glued small paper balls on the ends of our stag beetle’s antennae and painted them to match. You could also use round wooden beads on the end of your antennae to create the same effect.
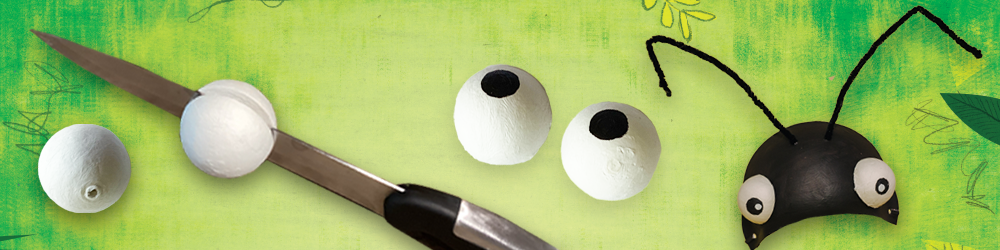
Step 4: Making the eyes
Cut a 5cm compressed paper ball in half. We used a kitchen knife on a chopping board. Paint a black circle on the side of each half to form the minibeasts’ eyes. Once dry, these can be stuck on to your mask with strong craft glue.
If making the stag beetle mask, continue with Step 5.
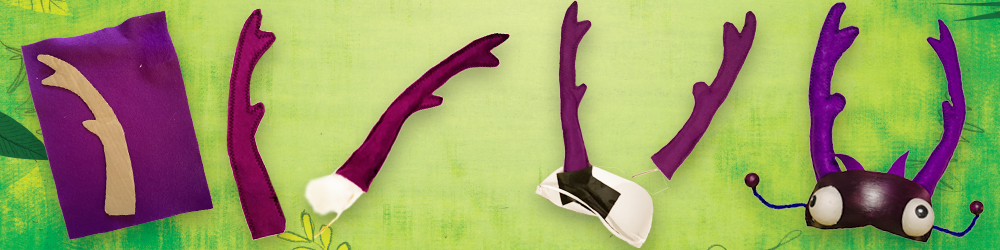
Step 5: Making the stag beetle’s mandibles
Cut out four mandible shapes from felt using the template provided. To make each mandible, join two layers of felt together around the edges, leaving the bottom open. If you have access to a sewing machine, you could sew around the edges. Alternatively, you could join the edges together using glue. Cut 30cm of wire and use it to gently push some stuffing inside the centre of each mandible. Once you have padded each mandible, push the wire back inside the mandible to strengthen it. Attach the mandibles to the underneath of the mask using some strong tape. Finally, cut two triangular shapes from felt to make the stag beetle’s palps and glue to the top of the mask to complete. Hurrah!
New to our mega, mighty musical? You can listen to the songs and read all about it here!